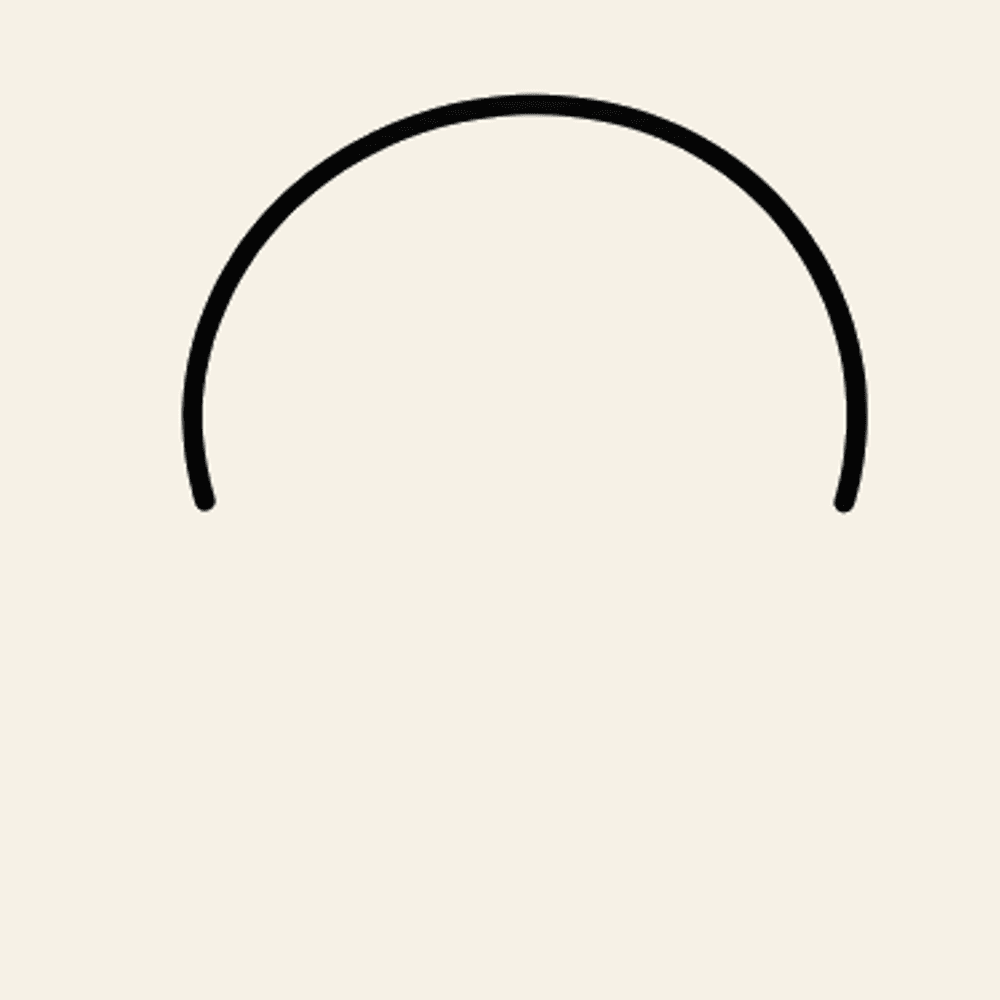
Step 1
Draw the top of the head
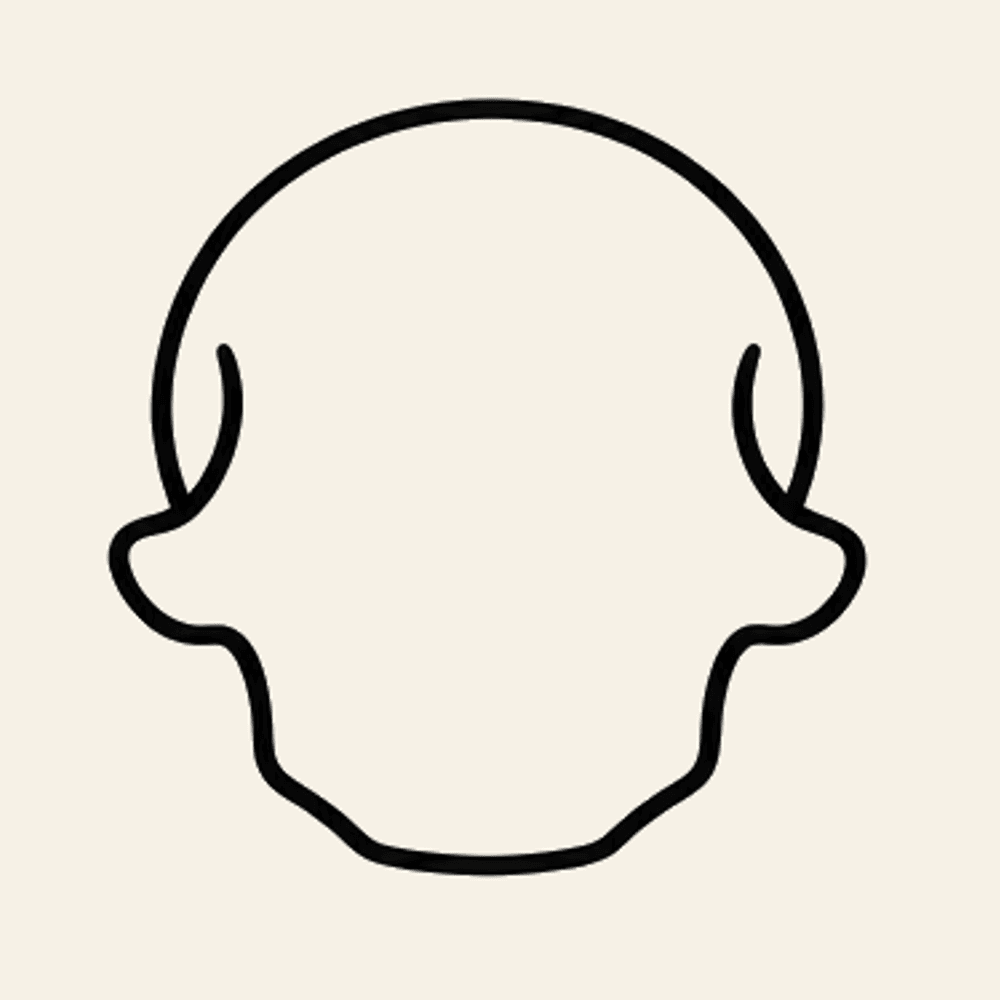
Start with a wide, even arc for the top of the skull. Leave the sides open for the cheeks.
How to draw
A skull starts with the top of the head. Add the cheekbones, then the jaw, eyes, and nose. Finish with a jaw line, teeth, and two little forehead marks. Follow the steps. Each picture adds a few lines.
Draw on paper first. Then open Giant and take a photo so we can bring the picture to life.
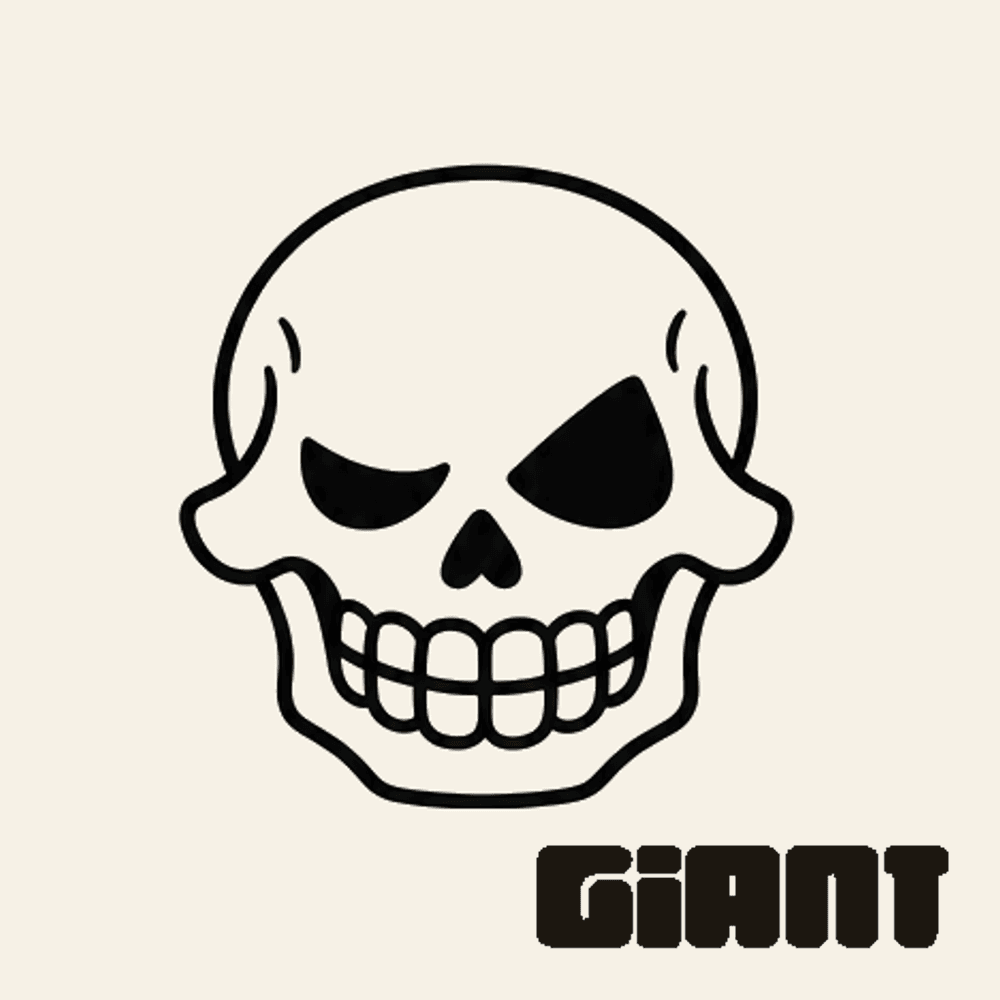
Each picture adds a few lines to the last one. Copy the new lines, then keep going.
Step 1
Start with a wide, even arc for the top of the skull. Leave the sides open for the cheeks.
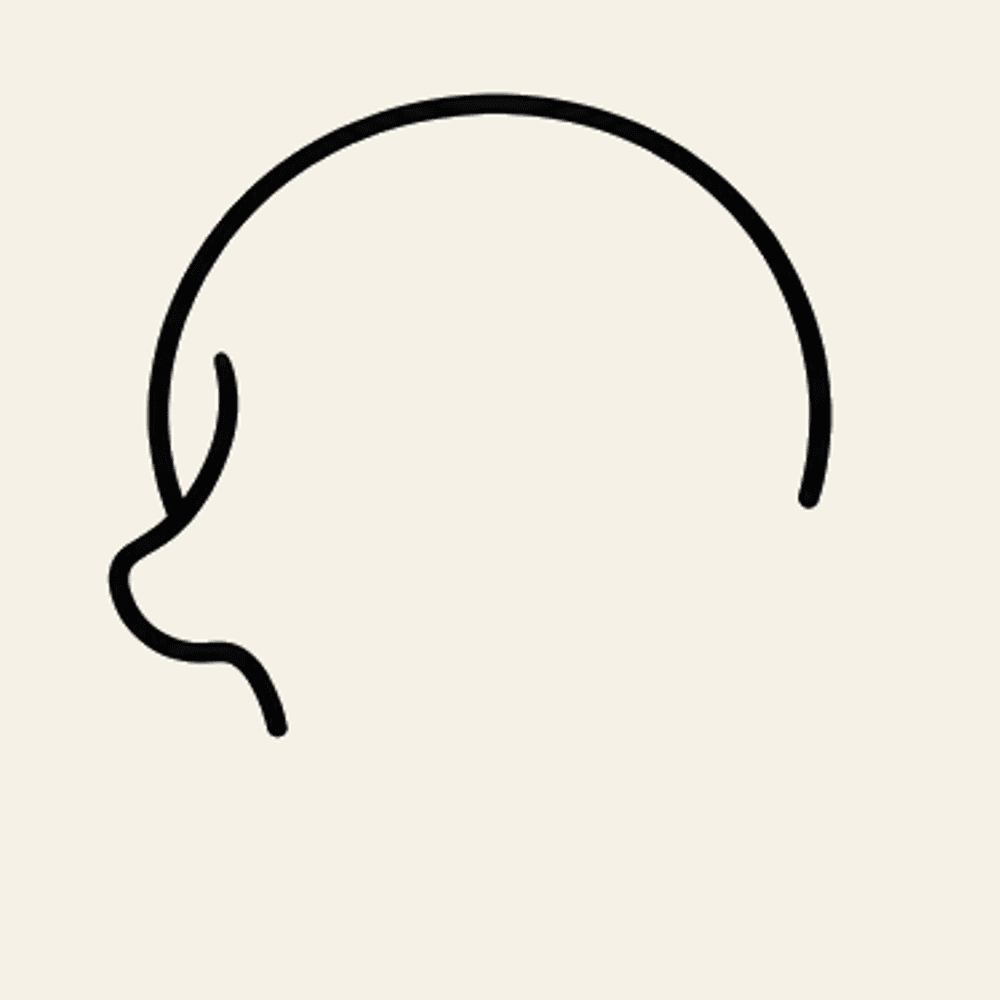
Step 2
From the left end, flare a cheekbone out, then curve it back in and drop a short hanging line.
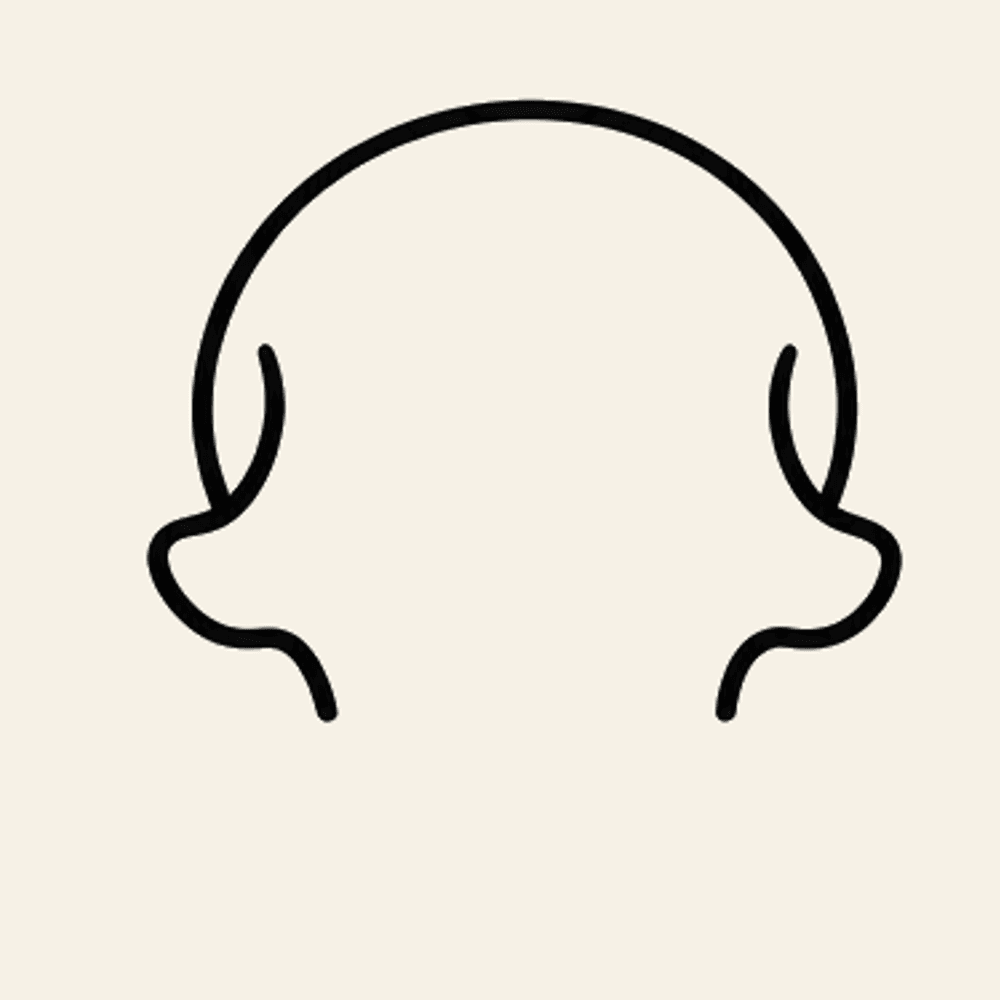
Step 3
Mirror the same cheek bump on the right so both sides match.
Step 4
Connect the hanging lines with a rounded jaw. Keep the chin soft, not sharp.
Step 5
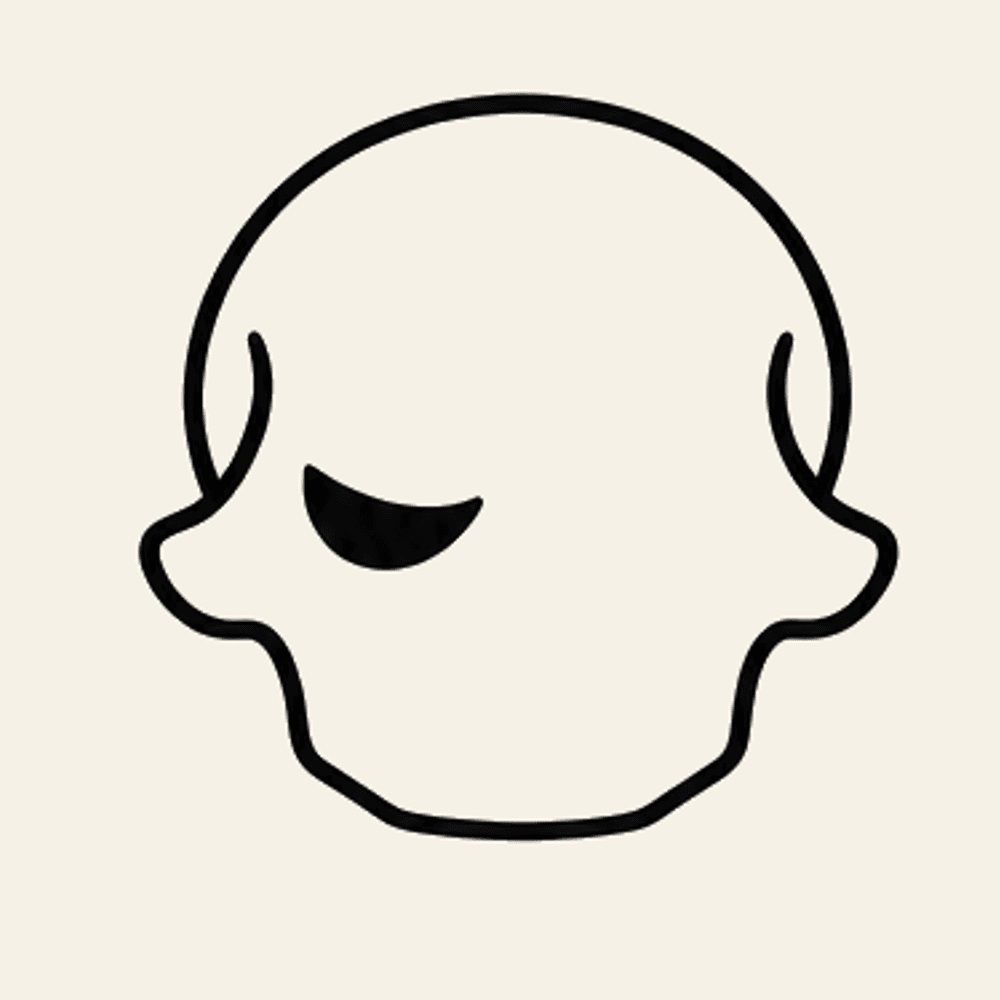
Add a thin, slightly tilted eye on the left side of the face. Fill it in.
Step 6
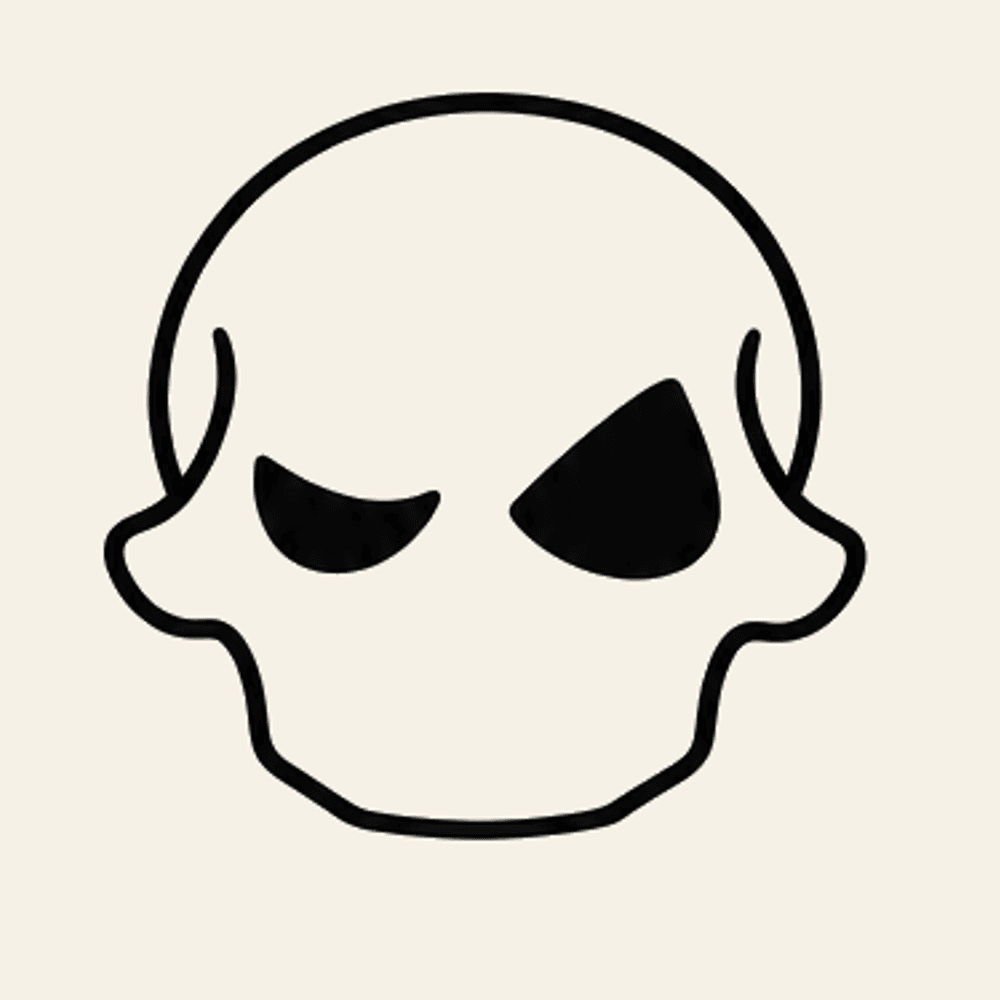
Add a matching filled eye on the right. Leave room in the middle for the nose.
Step 7
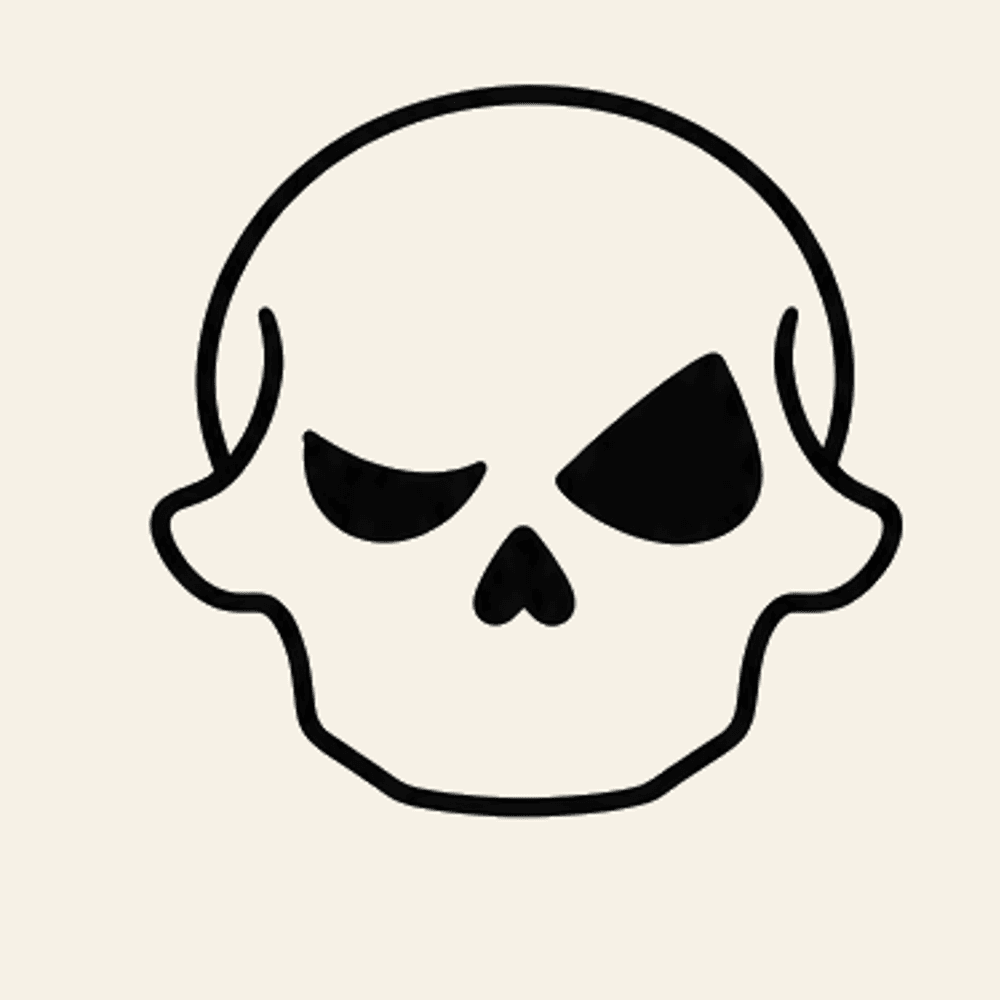
Between the eyes, draw a small upside-down heart for the nose hole and fill it in.
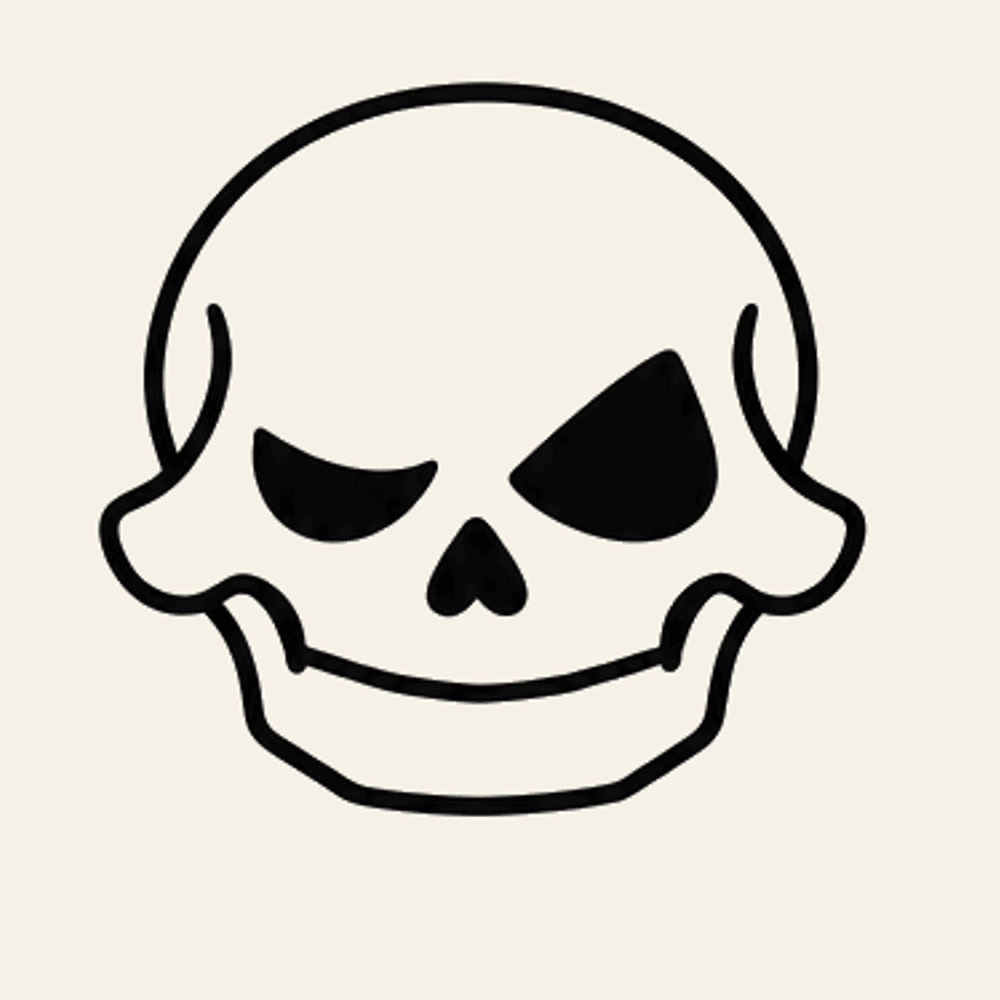
Step 8
Draw a wide curve under the cheeks. This line sits above the teeth.
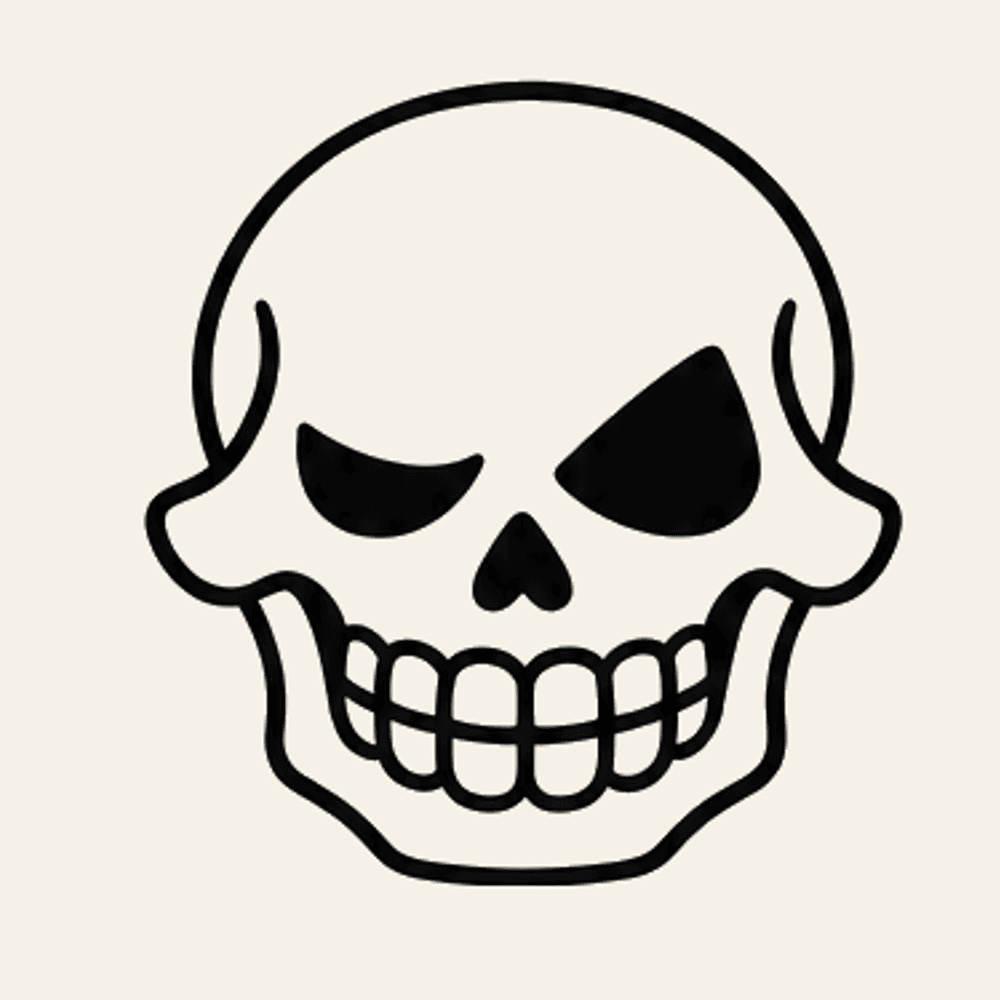
Step 9
Add a row of upper teeth, then a matching row below. Keep the blocks even.
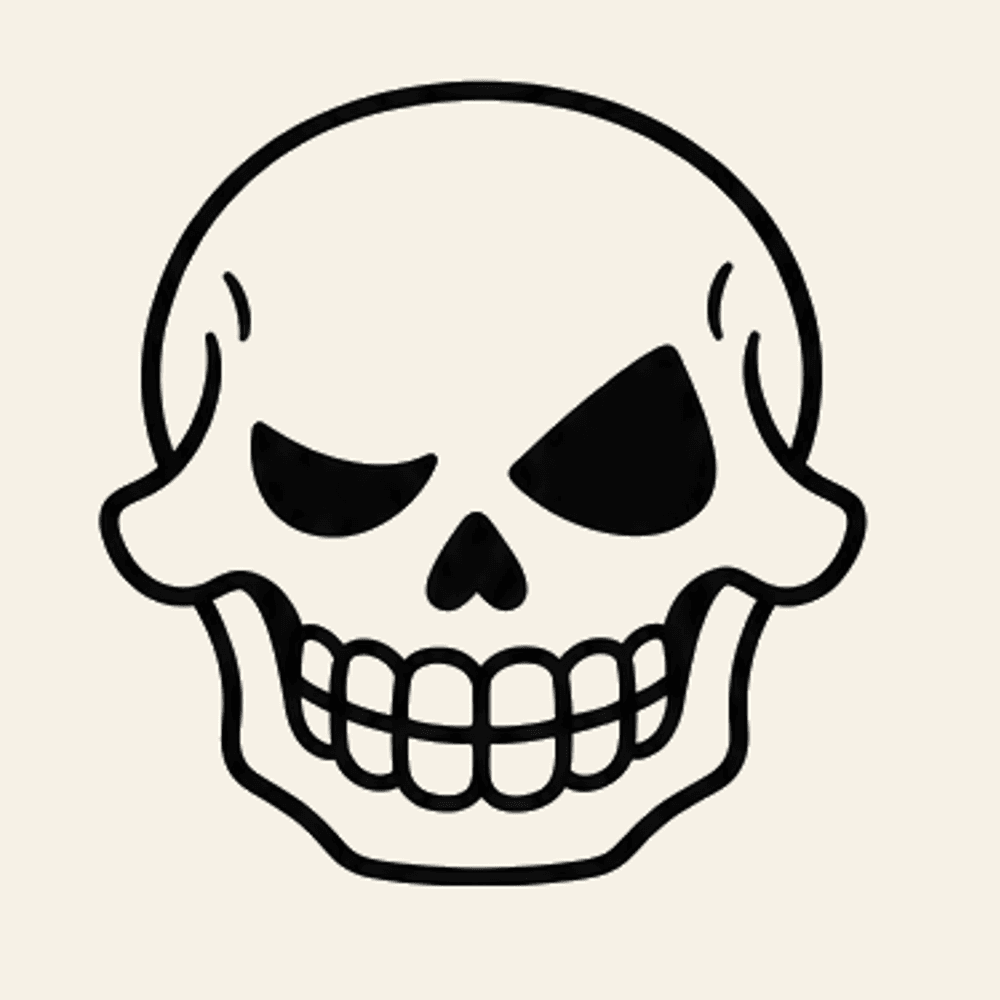
Step 10
Finish with two tiny highlight ticks on the forehead, just left of center.
In Giant
Finish your picture. Then download Giant and snap a photo. We turn kid drawings into characters you can talk with.
Download GiantKeep drawing
