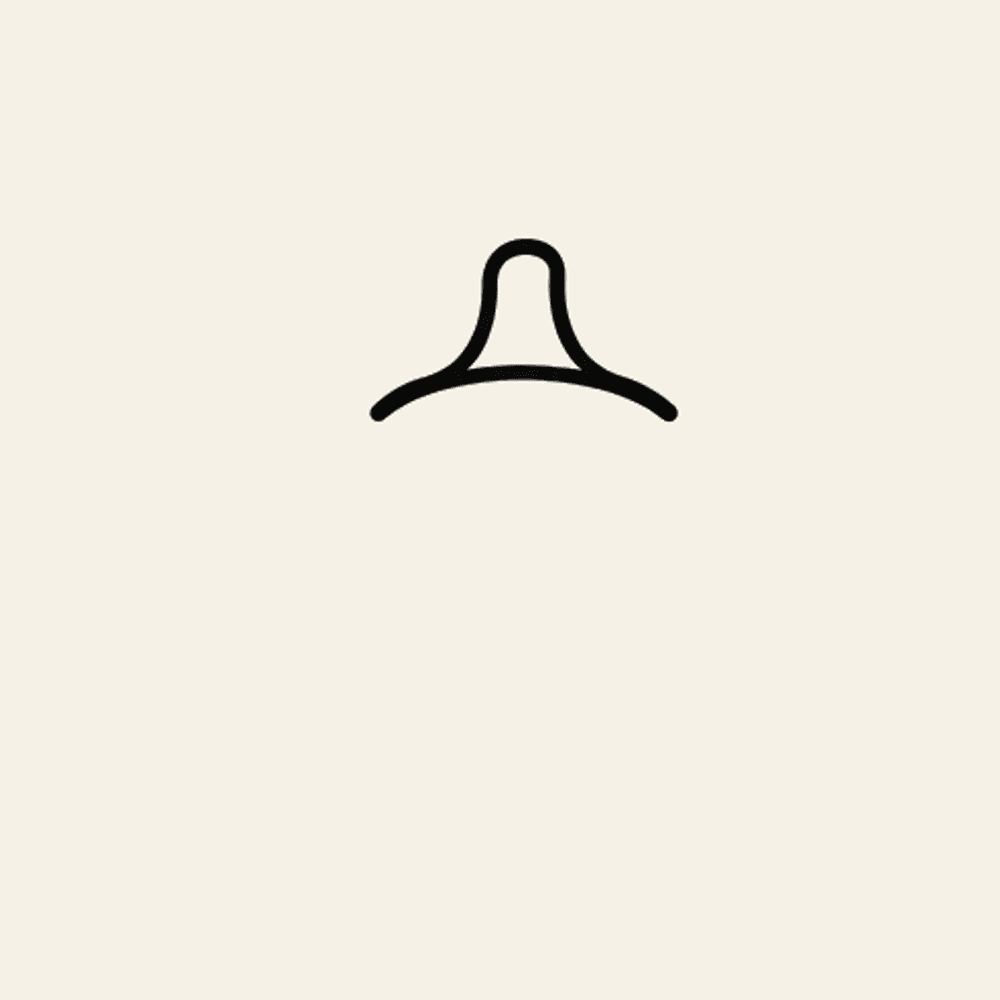
Step 1
Draw the stem
Start with a short stem: a small rounded top, then a short curved line under it with a tiny knob on each end.
How to draw
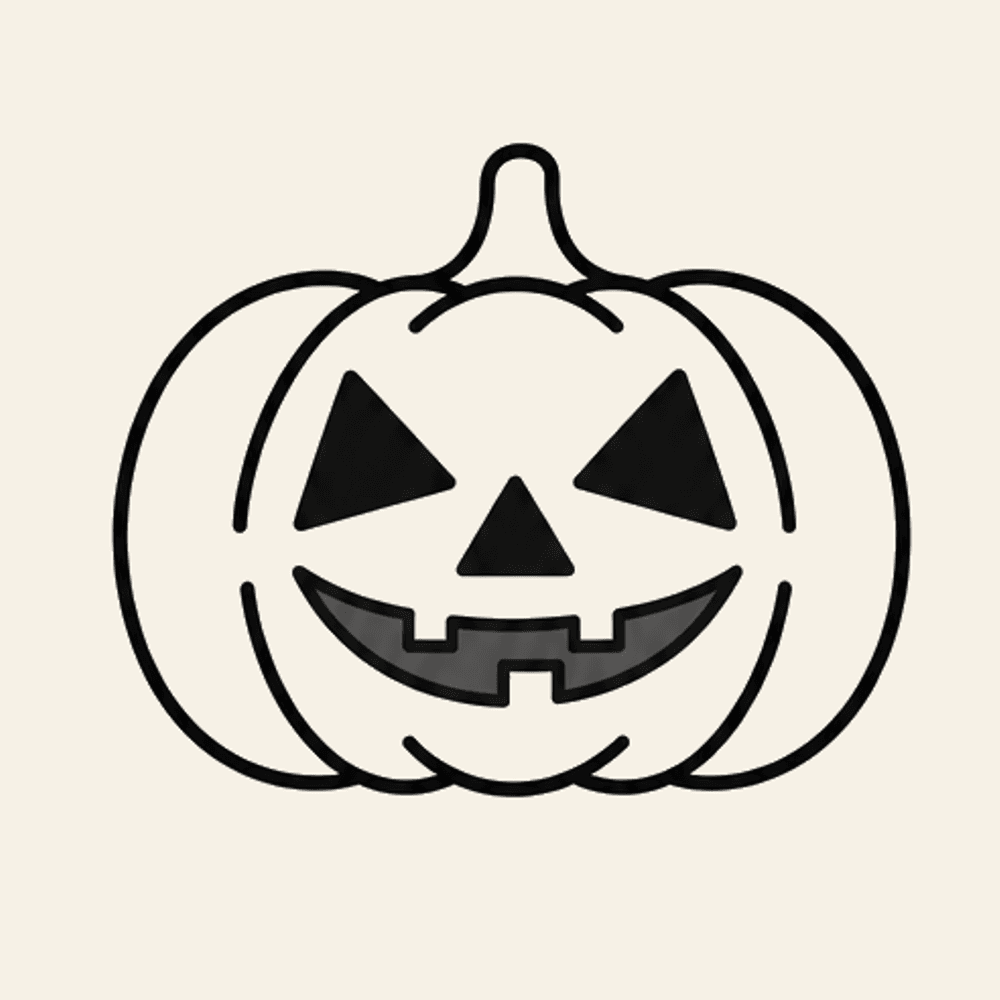
This easy pumpkin drawing starts with a short stem and a curved top line. Add the center body, side lobes, and inner rib curves. Carve the eyes, nose, and gray grin last. Follow the steps. Each picture adds a few lines.
Draw on paper first. Then open Giant and take a photo so we can bring the picture to life.
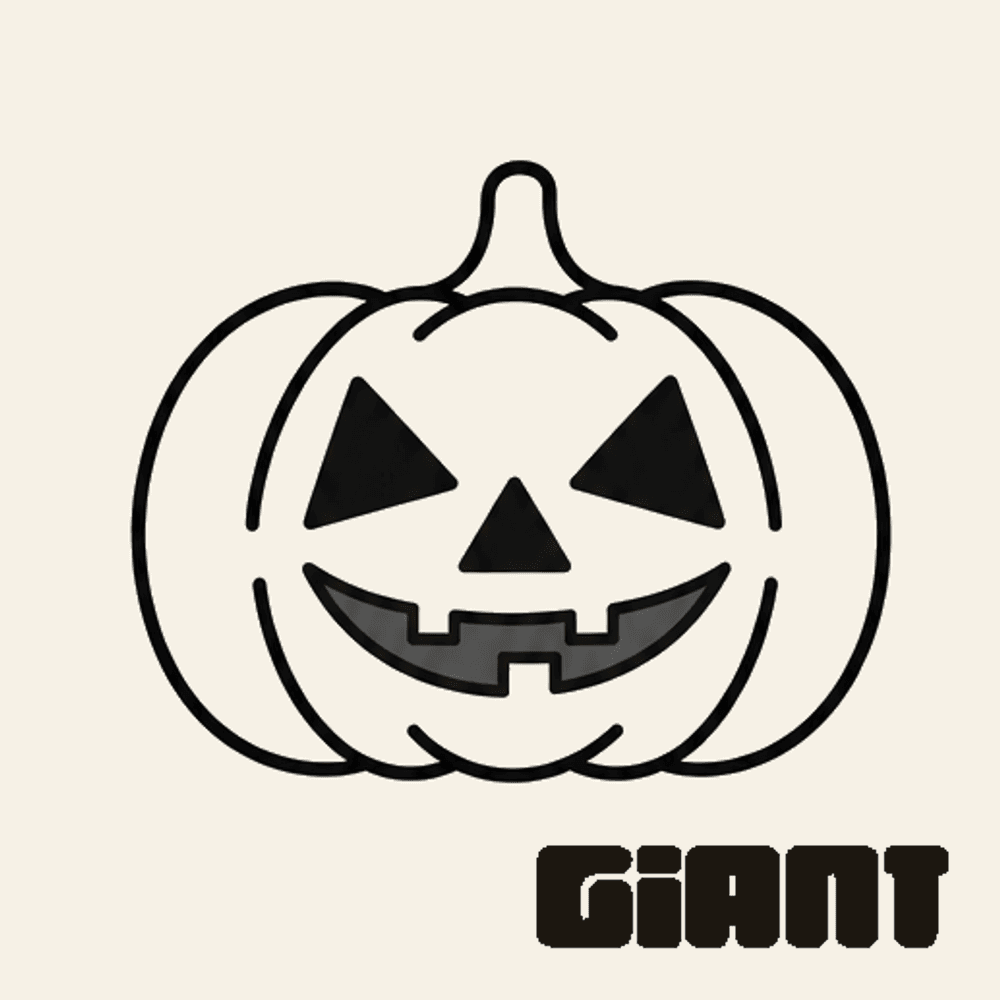
Each picture adds a few lines to the last one. Copy the new lines, then keep going.
Step 1
Start with a short stem: a small rounded top, then a short curved line under it with a tiny knob on each end.
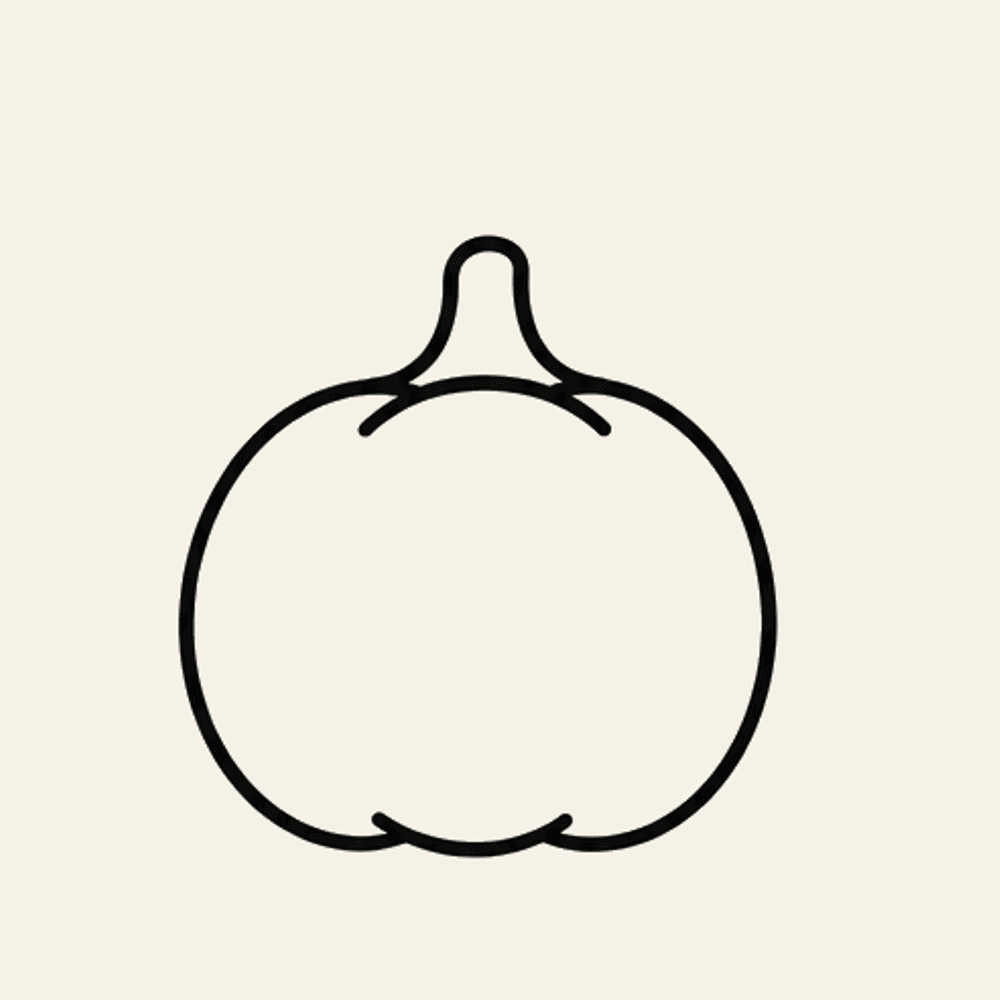
Step 2
Hang a tall round body from the stem. This front piece sits in the middle and will hold the face.
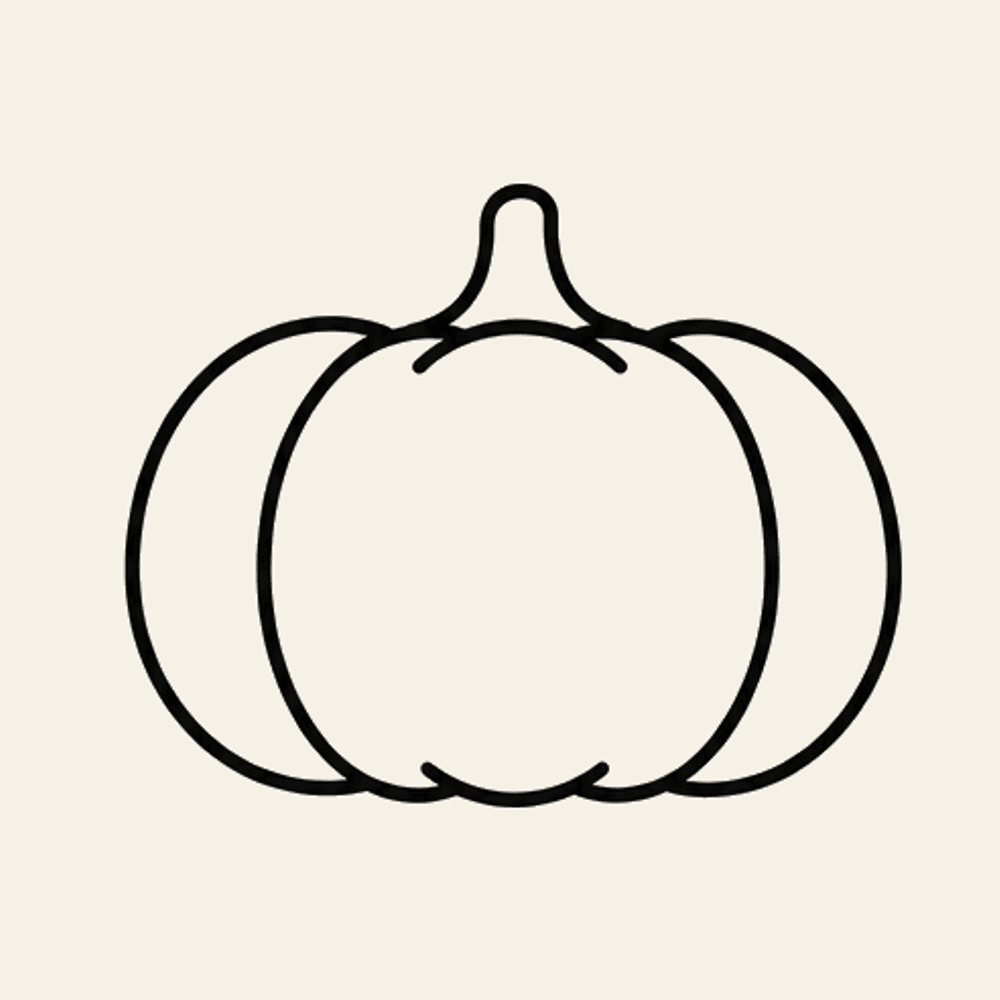
Step 3
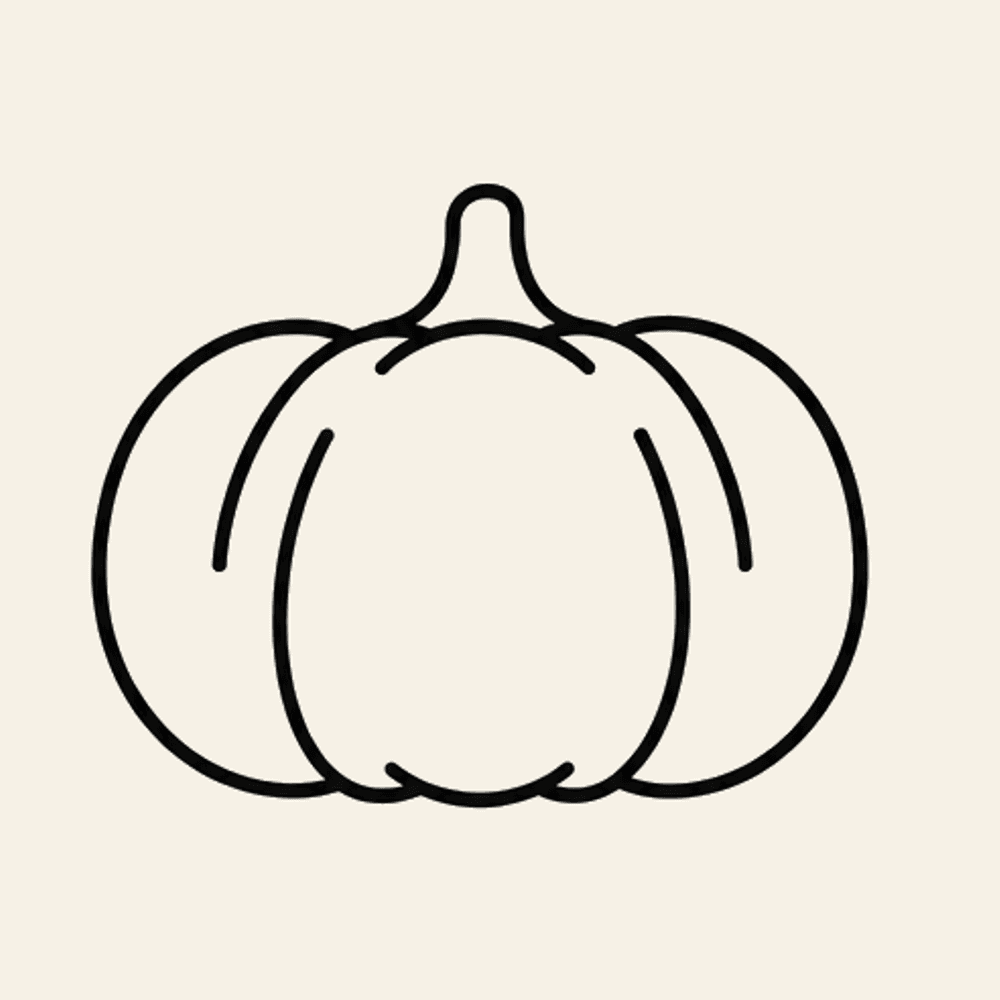
Add a full round lobe on the left and one on the right. They sit a little behind the center and make the pumpkin wide.
Step 4
Draw one inner curve on the left and one on the right. Keep them short, inside the side lobes.
Step 5
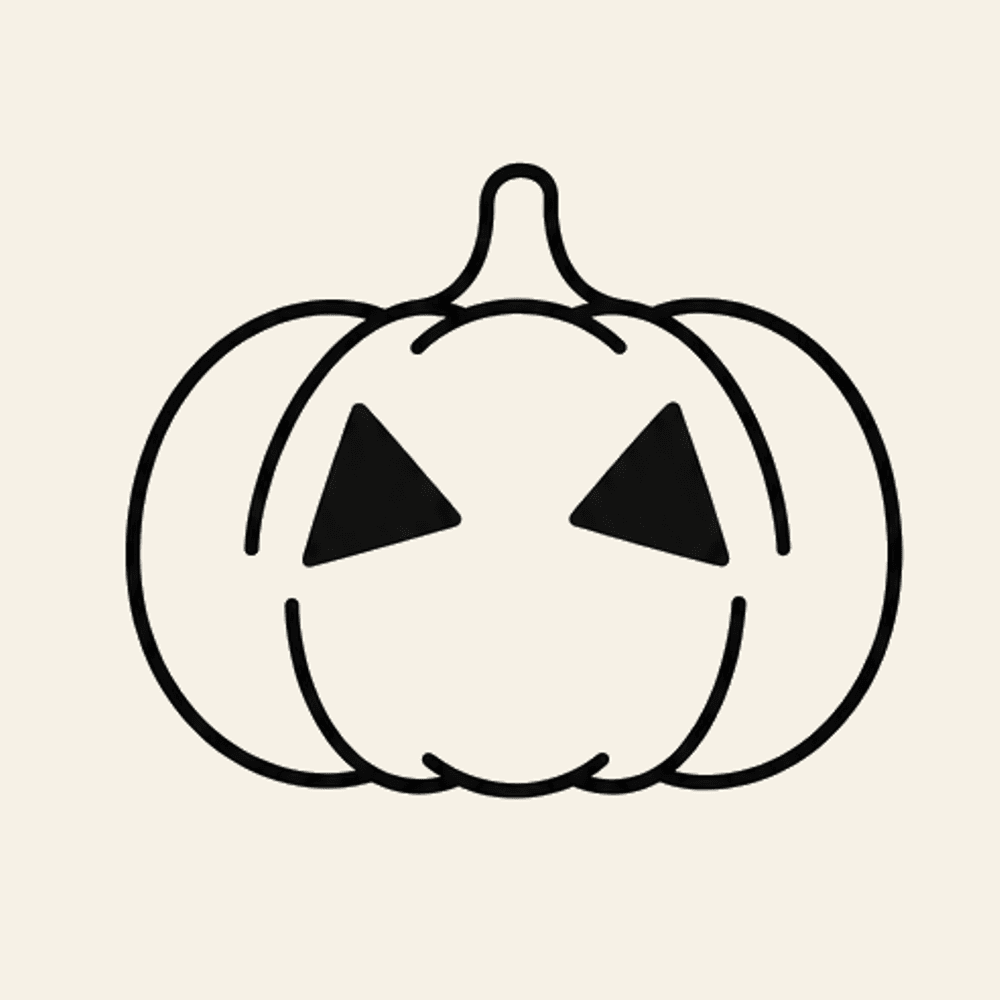
Cut two triangle eyes in the center body, points up. Keep them off the rib lines, and fill them in.
Step 6
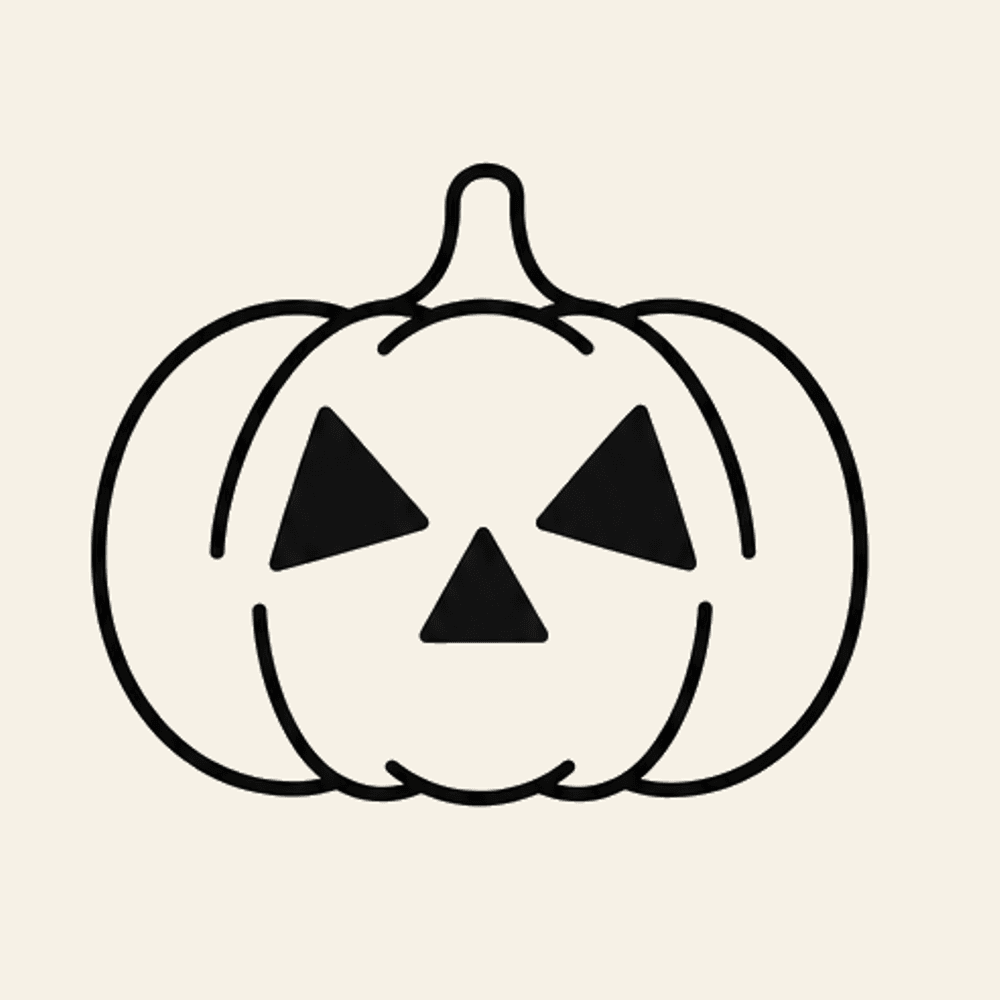
Add a smaller upright triangle nose between the eyes. Fill it with a dark color.
Step 7
Add a wide gray smile across the center. Cut two square notches for teeth.
In Giant
Finish your picture. Then download Giant and snap a photo. We turn kid drawings into characters you can talk with.
Download GiantKeep drawing
